Steps for Installing JAVA 8 on Ubuntu
Step 1 – Install Java 8 on Ubuntu
The OpenJDK 8 is available under default Apt repositories. You can simply install Java 8 on an Ubuntu system using the following commands.
sudo apt update
sudo apt install openjdk-8-jdk -y
sudo apt install openjdk-8-jdk -y
Step 2 – Verify Java Installation
You have successfully installed Java 8 on your system. Let’s verify the installed and current active version using the following command.
java -version
openjdk version "1.8.0_252"
OpenJDK Runtime Environment (build 1.8.0_252-8u252-b09-1ubuntu1-b09)
OpenJDK 64-Bit Server VM (build 25.252-b09, mixed mode)
OpenJDK Runtime Environment (build 1.8.0_252-8u252-b09-1ubuntu1-b09)
OpenJDK 64-Bit Server VM (build 25.252-b09, mixed mode)
Step 3 – Setup JAVA_HOME and JRE_HOME Variable
As you have installed Java on your Linux system, You must have to set JAVA_HOME and JRE_HOME environment variables,
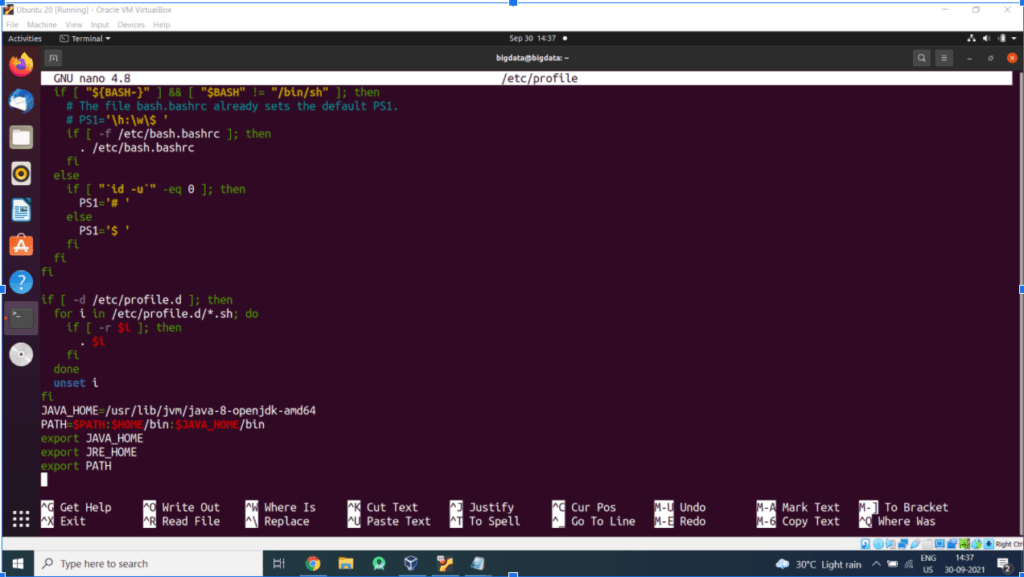
Edit the system Path file /etc/profile
sudo nano /etc/profile
Add following lines in the end and Save file
JAVA_HOME=/usr/lib/jvm/jdk1.7.0
PATH=$PATH:$HOME/bin:$JAVA_HOME/bin
export JAVA_HOME
export JRE_HOME
export PATH
PATH=$PATH:$HOME/bin:$JAVA_HOME/bin
export JAVA_HOME
export JRE_HOME
export PATH
Then Log out and Log in to ubuntu for setting up the paths.