Download Link for Apache Hadoop 3.3.0
URL : https://hadoop.apache.org/releases.html
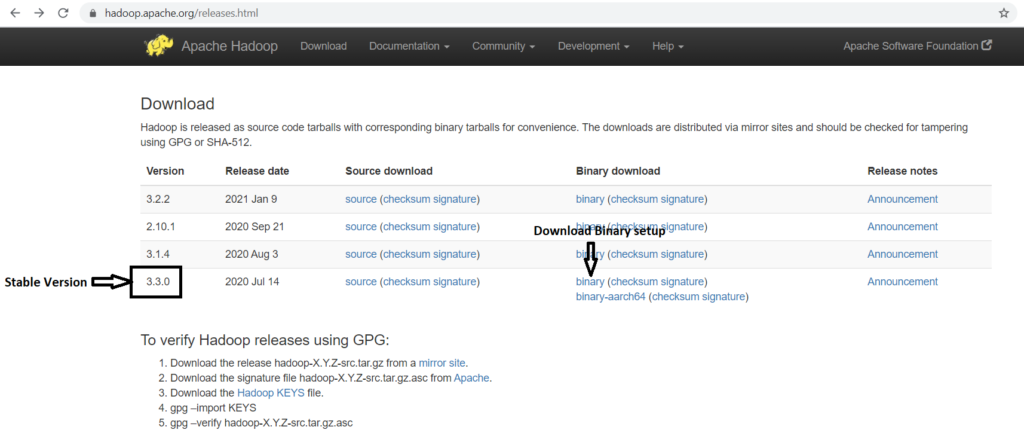
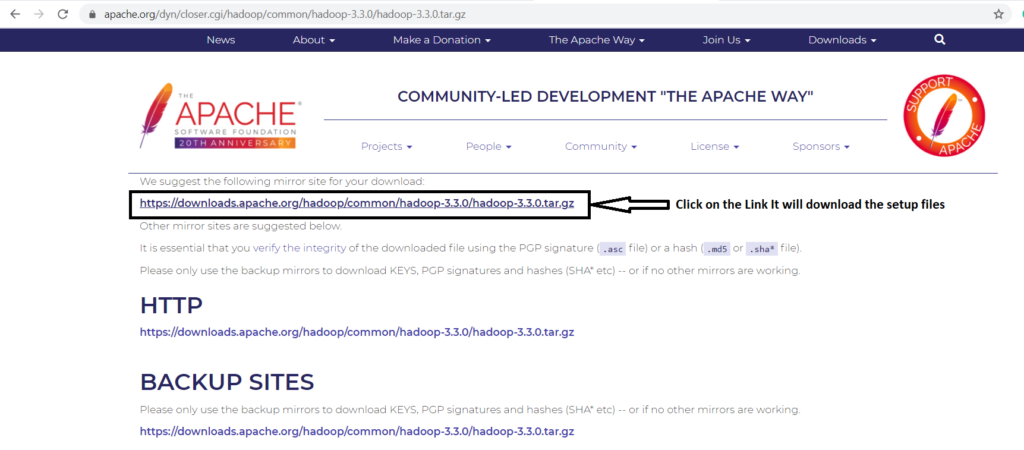
Click on the Binary it will open a new website
https://www.apache.org/dyn/closer.cgi/hadoop/common/hadoop-3.3.0/hadoop-3.3.0.tar.gz (This link may change based on your location)
Download link for Java SE Development Kit 8
https://www.oracle.com/in/java/technologies/javase/javase-jdk8-downloads.html

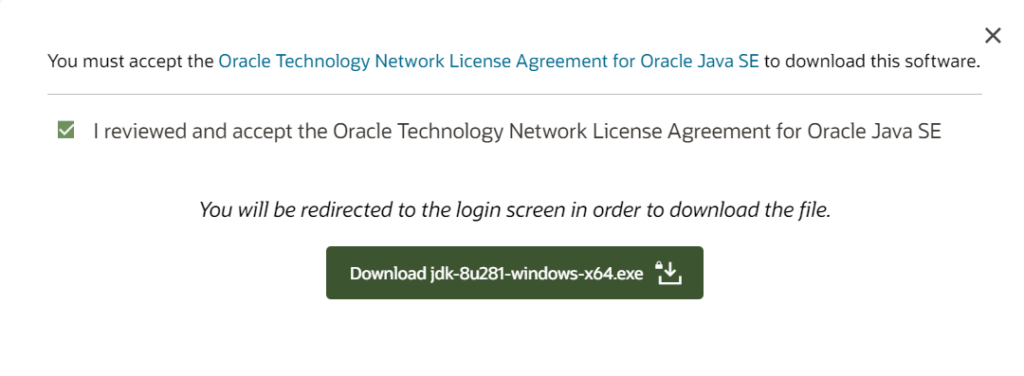
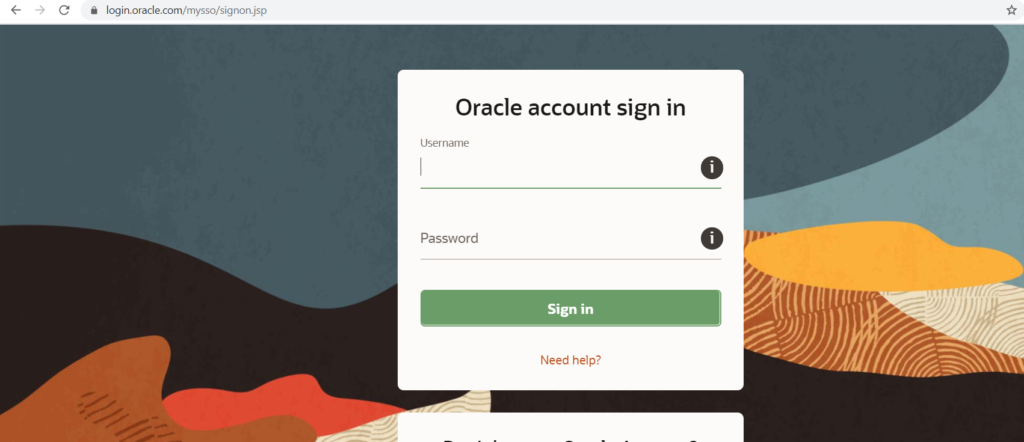
Register or Login If you have already registered the Download will begin
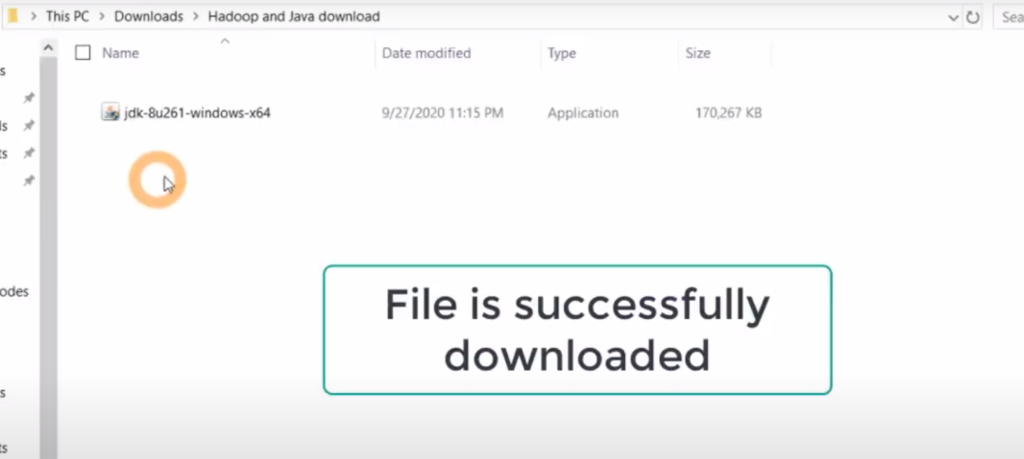
We will have Below files in Download Folder

Installing and Configuring Java
Step 1: Create a Empty Folder Java in C Drive


Step 2: Go to the Download location
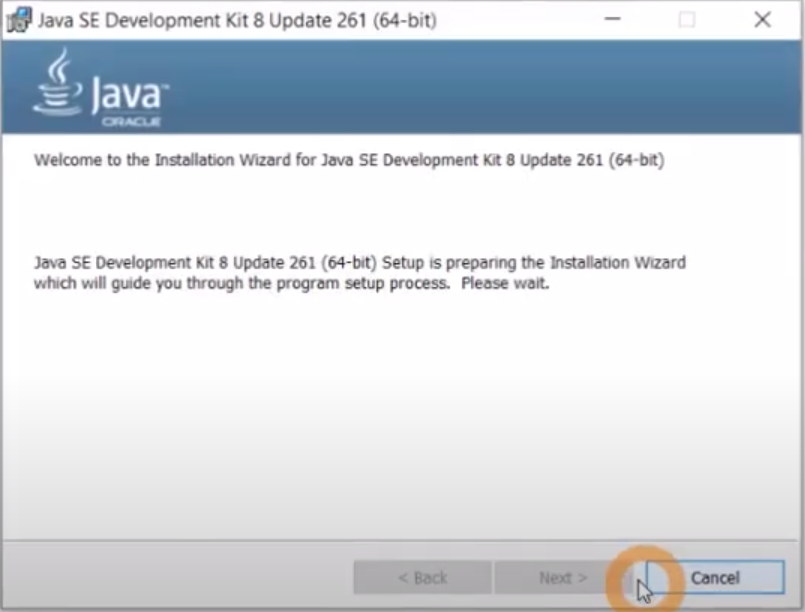
Step 3: Double Click on the Setup file
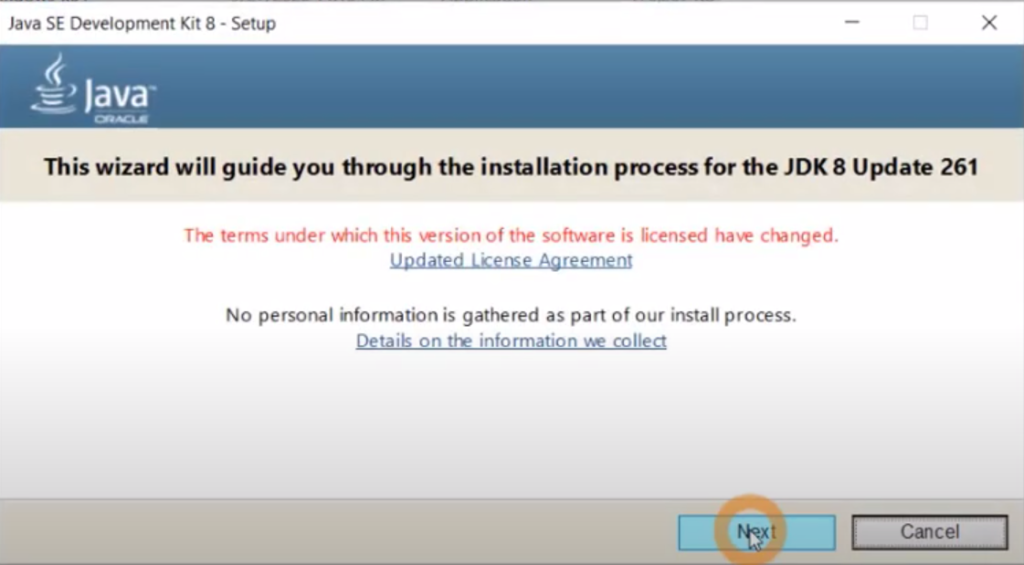
Click on Next
Click on Next
Click on Next
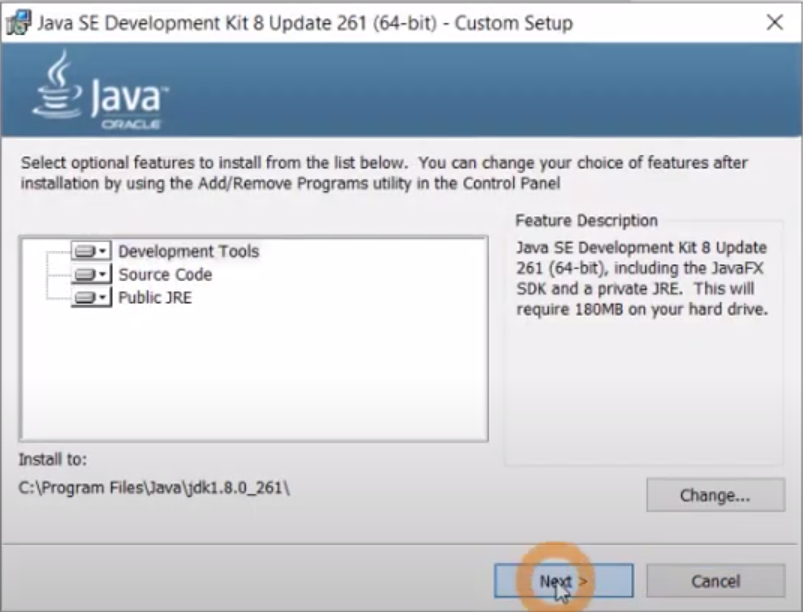
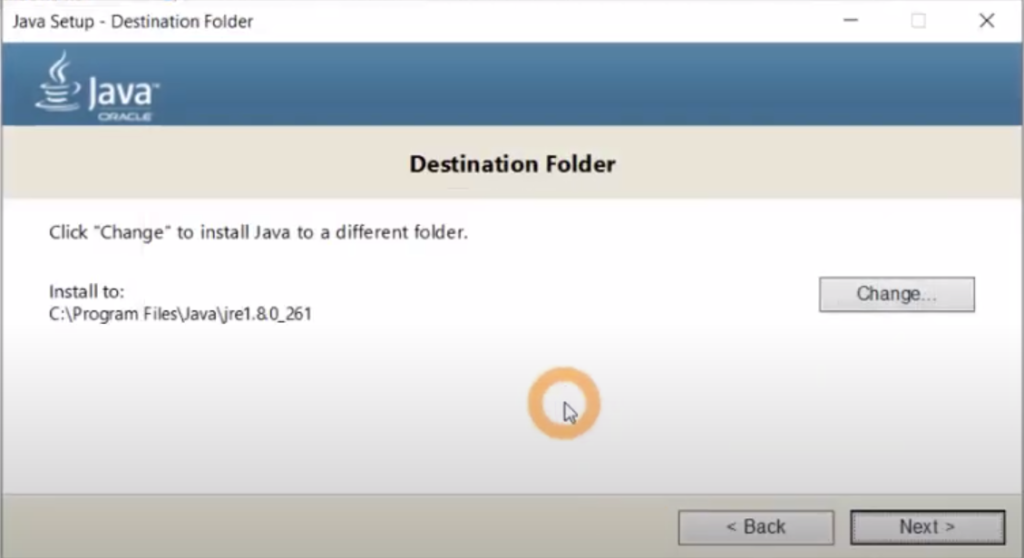
Click on Change
Make Sure you change the Location
From : C:\Program File\Java\jre1.8.0_261
To : C:\Java\ as shown in the below image and Click on Next
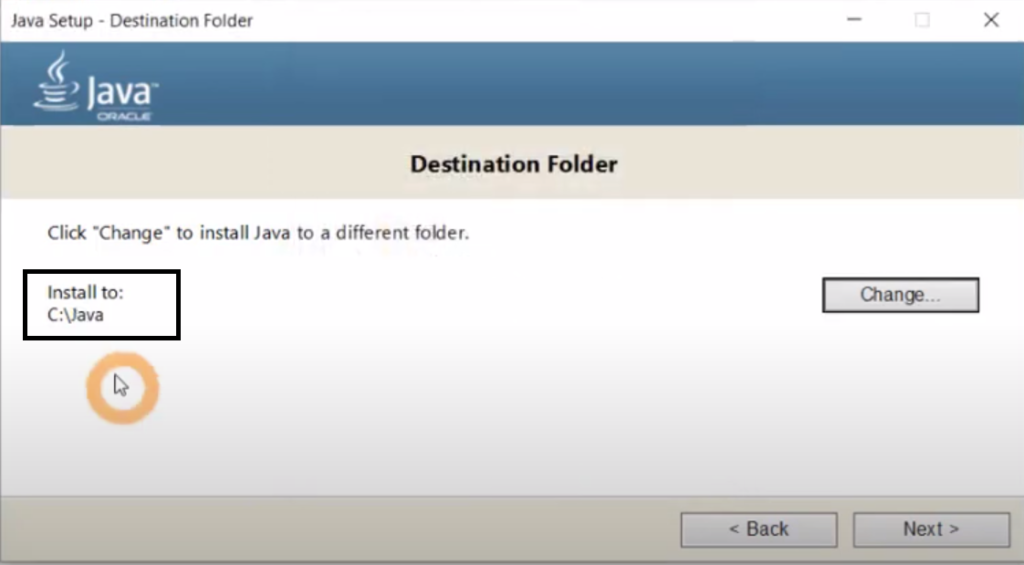
C:\Java
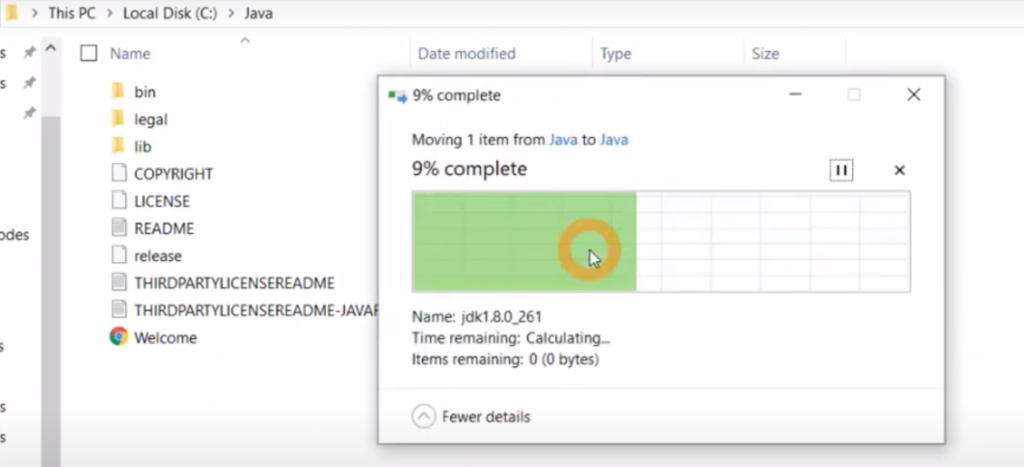
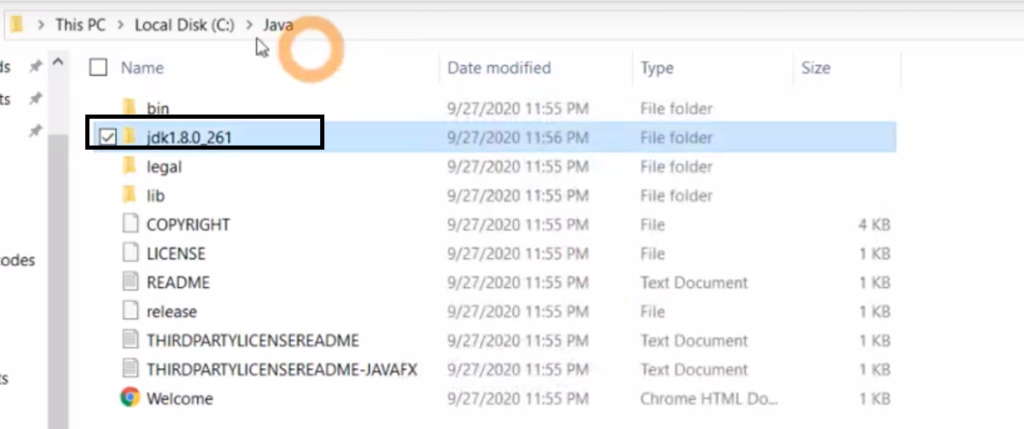
We have another Java Folder in C:\Program Files\Java

Move the folder jdk1.8.0_261 (from C:\Program Files\Java to C:\Java) that is cut and paste
We need to do this to avoid few errors in Hadoop
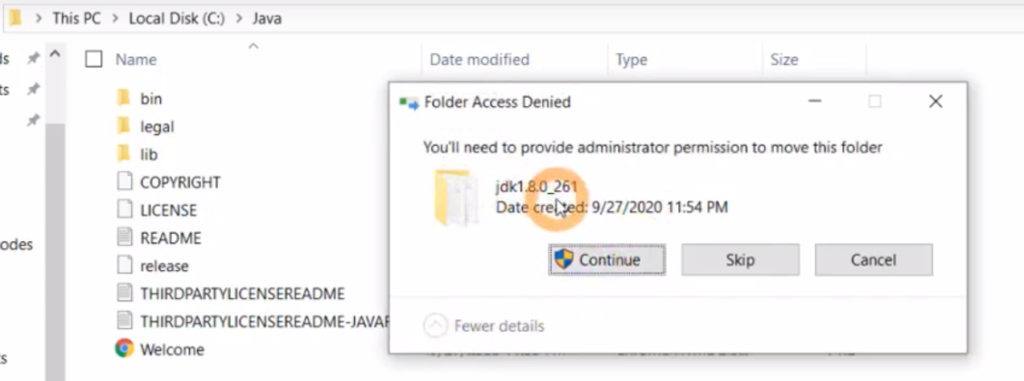
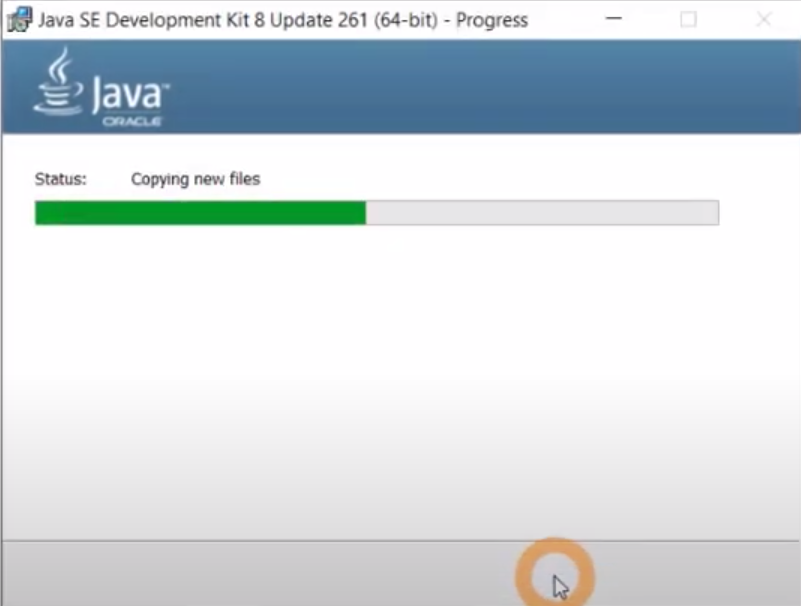
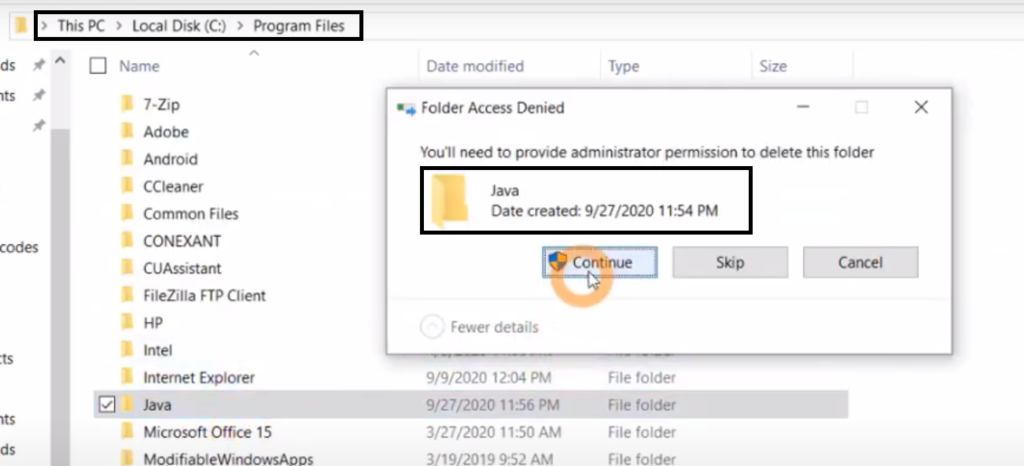
Click on Continue
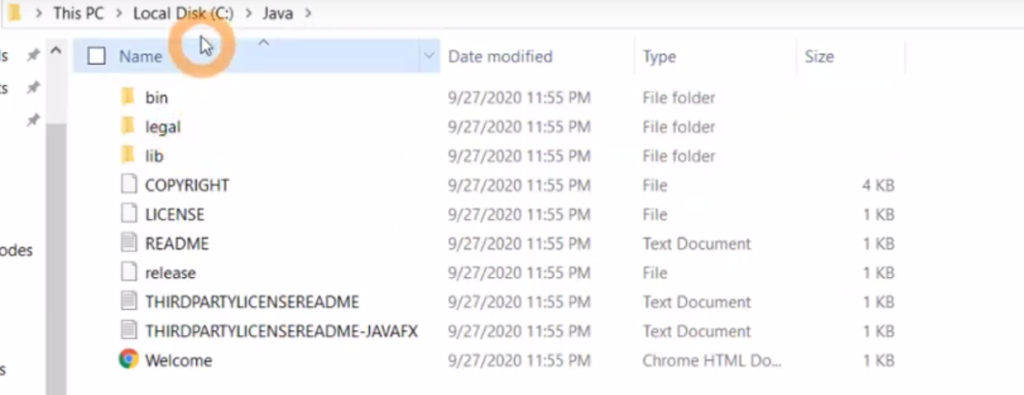
Final Result: C:\Java will have below files
We need to delete empty Java folder present at C:\Program Files\
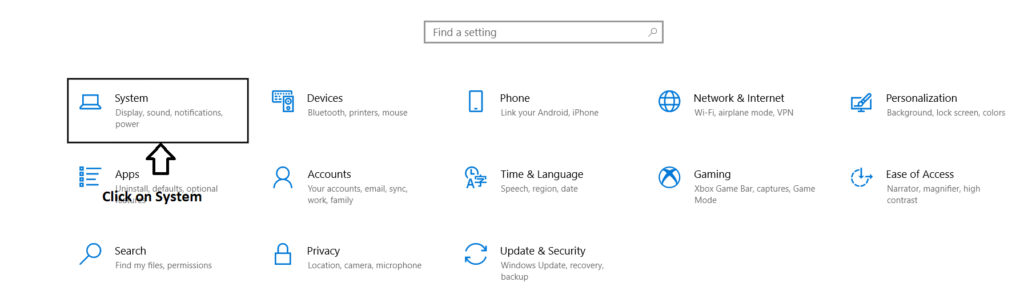
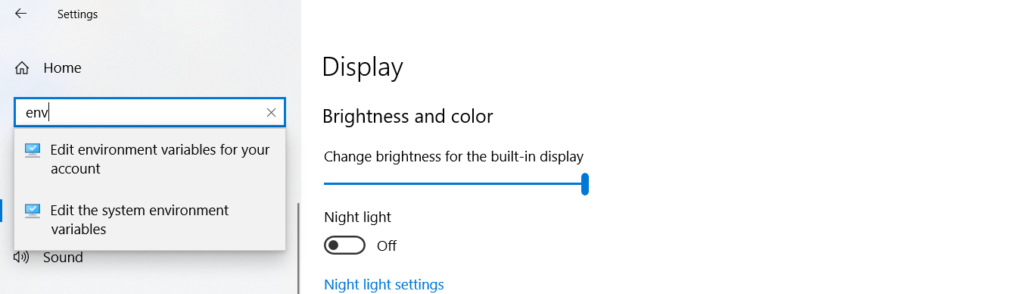
Click on Start Menu and Click Settings

Settings will get open
Click on System
A new Screen will get open
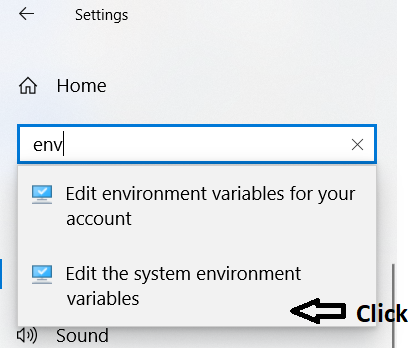
Type ENV in Search Box as show in the below Image
Click on Edit the System Environment Variables
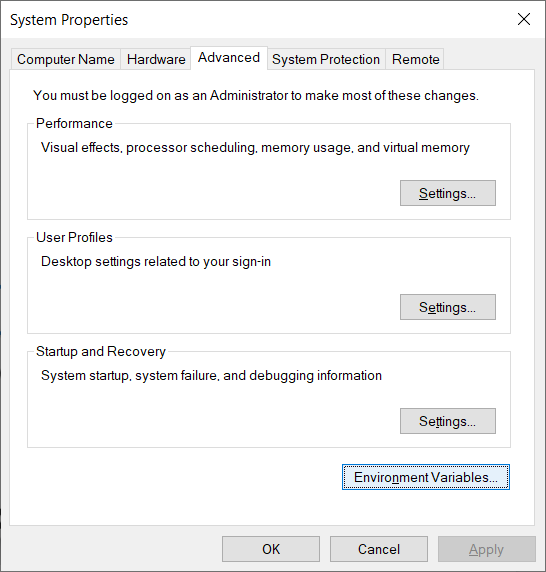
System Properties will get open and Click on Environment Variables
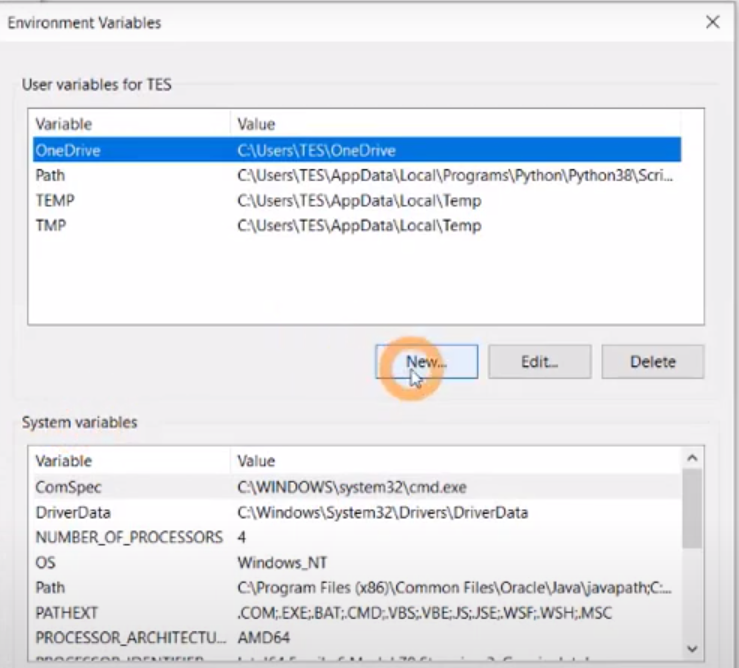
Click on New
Type JAVA_HOME in Variable Name
And C:\Java\jdk1.8.0_281\bin in Variable Value as shown in the below Image
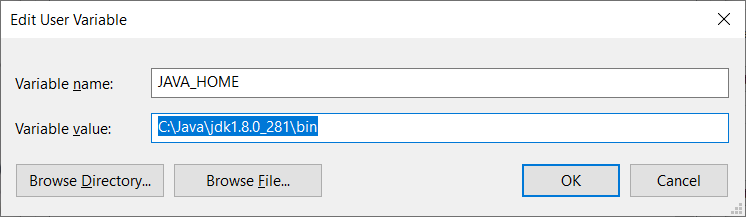
Click on OK
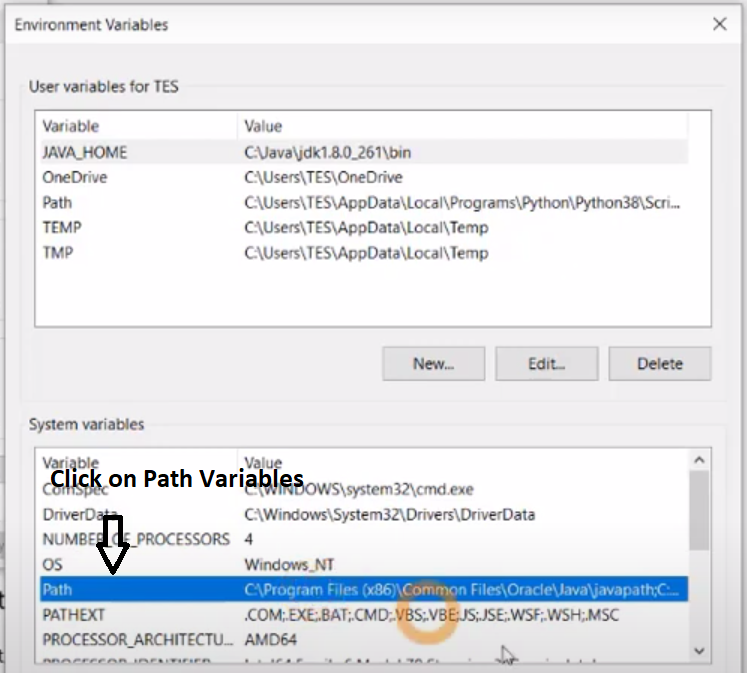
Double Click on Path Variables
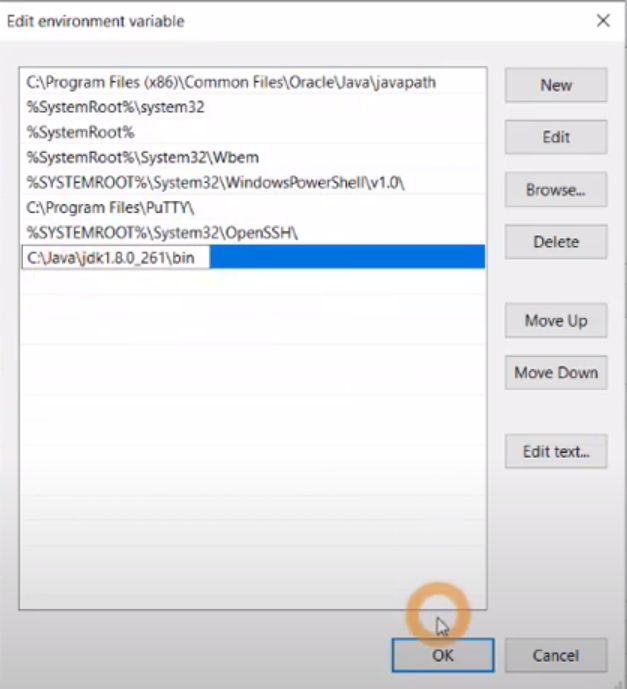
Click on New
And Paste C:\Java\jdk1.8.0_281\bin and Click on Ok Button
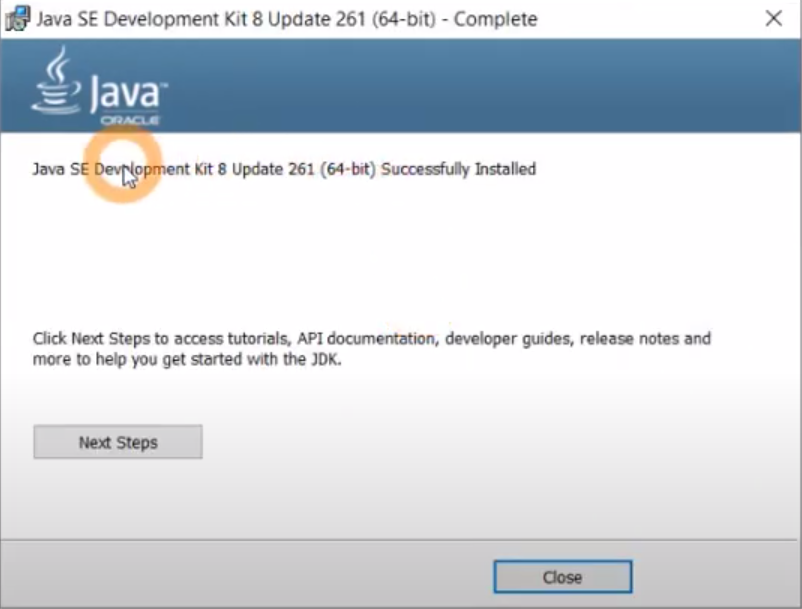
Finally Java is Installed in Our System now lets Check
Open Command Prompt and type javac
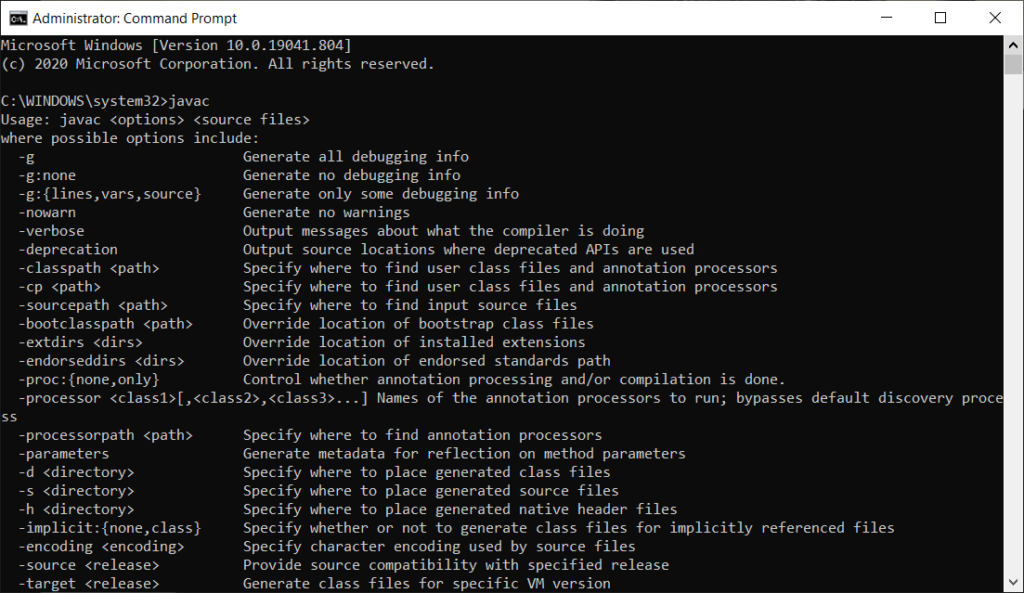
If you see listing then Java is Installed successfully
To see version of java type java -version