With this tutorial, we will learn the complete process to install Apache Hive 3.1.2 on Ubuntu 20.
The Apache Hive data warehouse software facilitates reading, writing, and managing large datasets residing in distributed storage using SQL. Structure can be projected onto data already in storage. A command line tool and JDBC driver are provided to connect users to Hive.
Steps for Installing Hadoop on Ubuntu
Step 1 – Create a directory for example
Step 2 – Move to hadoop directory
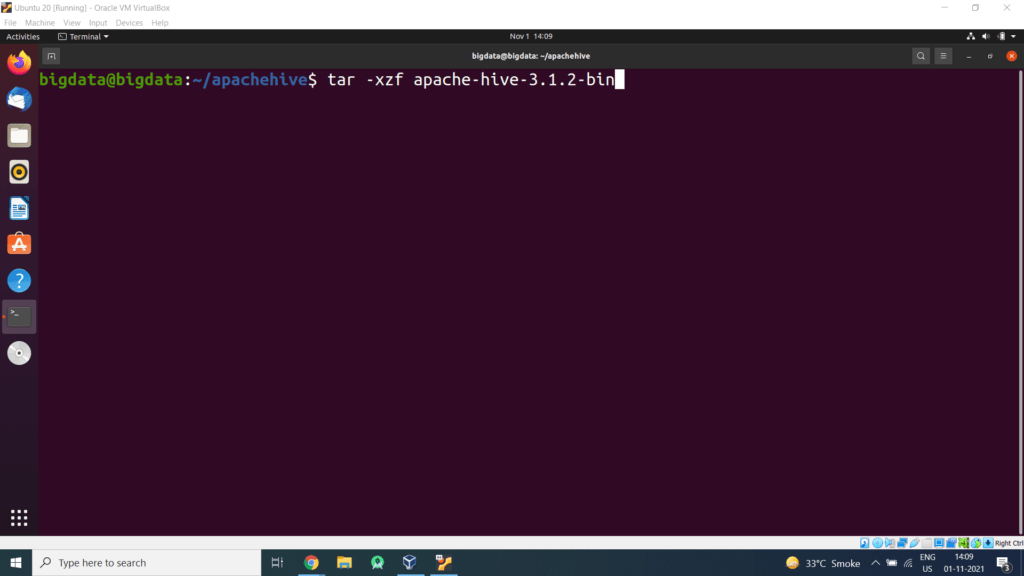
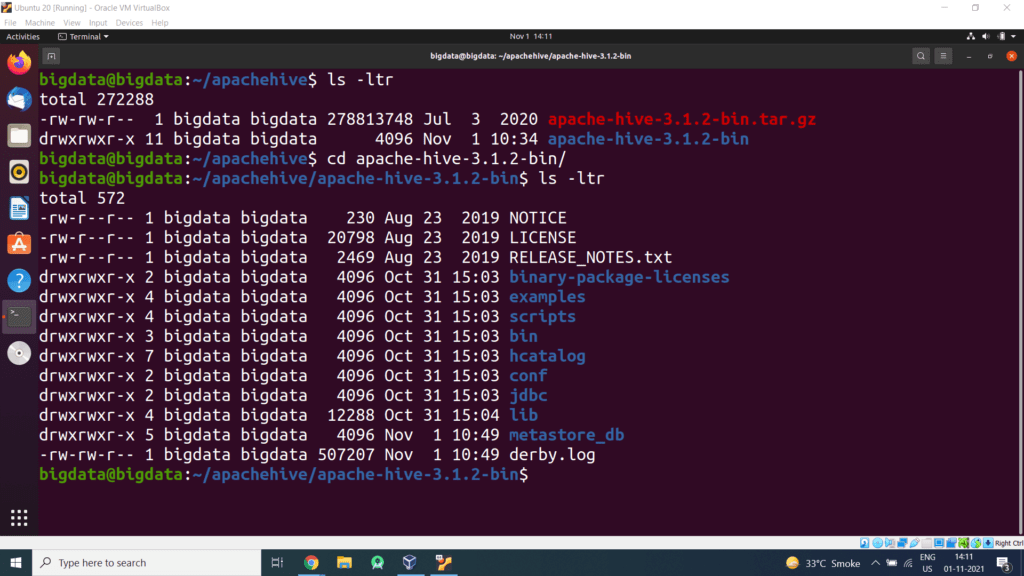
Step 3 – Download Apache Hive (Link will change with respect to country so please get the download link from Apache Hive website ie https://hive.apache.org/downloads.html
https://downloads.apache.org/hive/hive-3.1.2/apache-hive-3.1.2-bin.tar.gz


Step 4 – Extract this tar file
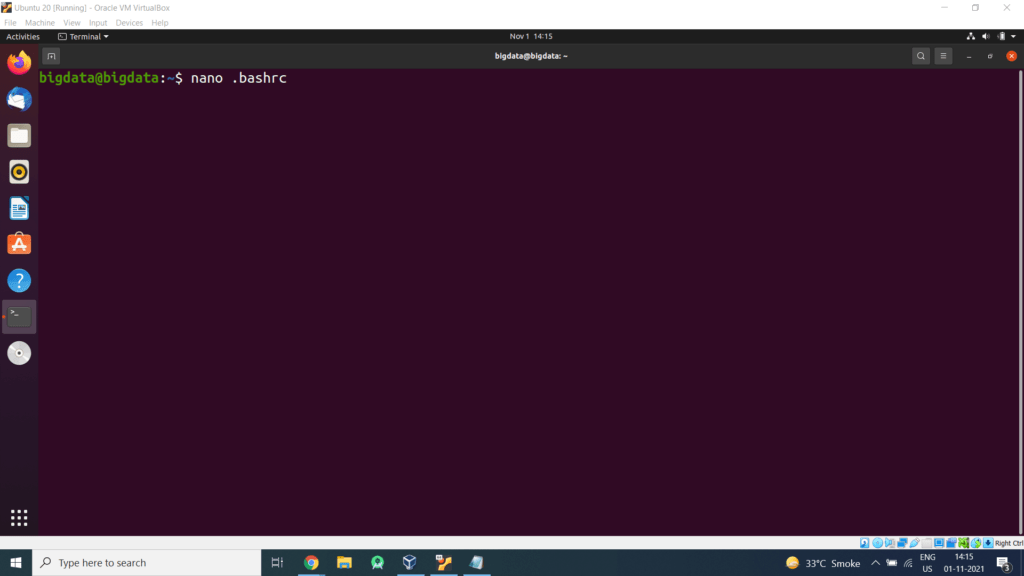
Step 5 – Open the bashrc files in the nano editor using the following command:
Edit .bashrc file located in the user’s home directory and add the following parameters:
export PATH=$PATH:$HIVE_HOME/bin
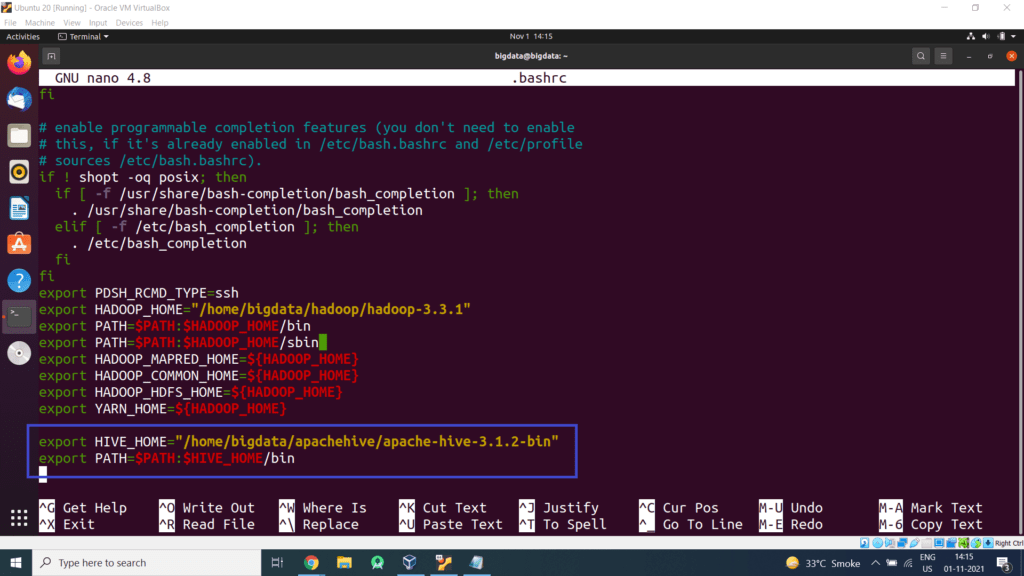
Press CTRL+O and enter to save changes. Then press CTRL+X to exit the editor.
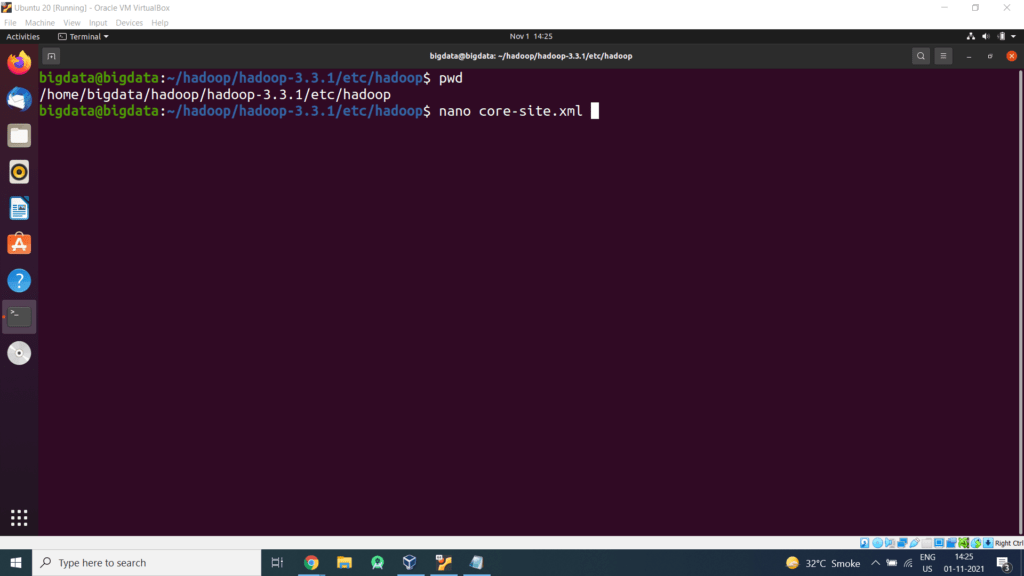
Step 6 – Open the core-site.xml file in the nano editor. The file is located in /home/bigdata/hadoop/hadoop-3.3.1/etc/hadoop/ (Hadoop Configuration Directory).
This location will differ based on your Hadoop installation.
Add the following configuration property in the core-site.xml file.
<property>
<name>hadoop.proxyuser.dataflair.groups</name>
<value>*</value>
</property>
<property>
<name>hadoop.proxyuser.dataflair.hosts</name>
<value>*</value>
</property>
<property>
<name>hadoop.proxyuser.server.hosts</name>
<value>*</value>
</property>
<property>
<name>hadoop.proxyuser.server.groups</name>
<value>*</value>
</property>
</configuration>
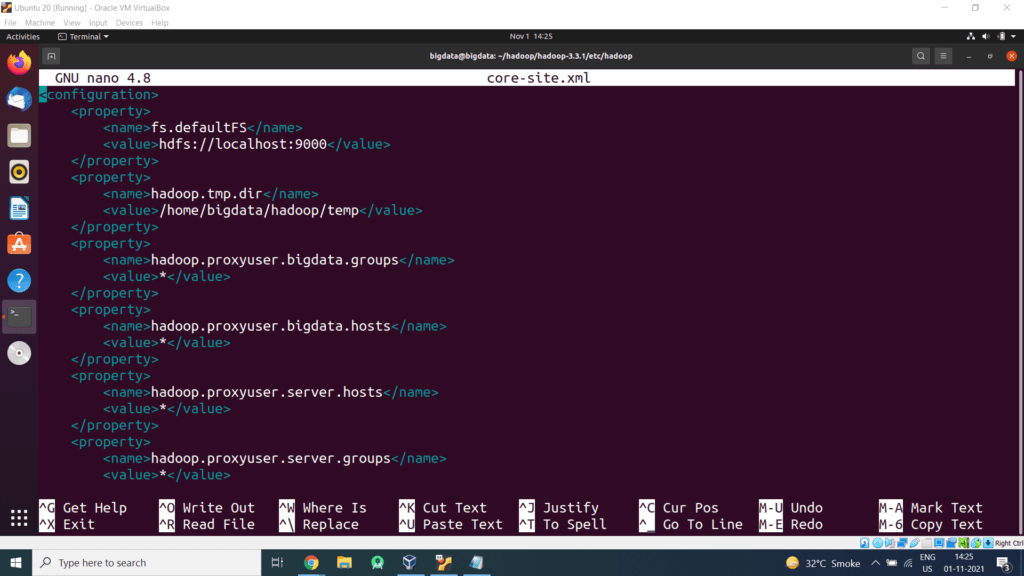
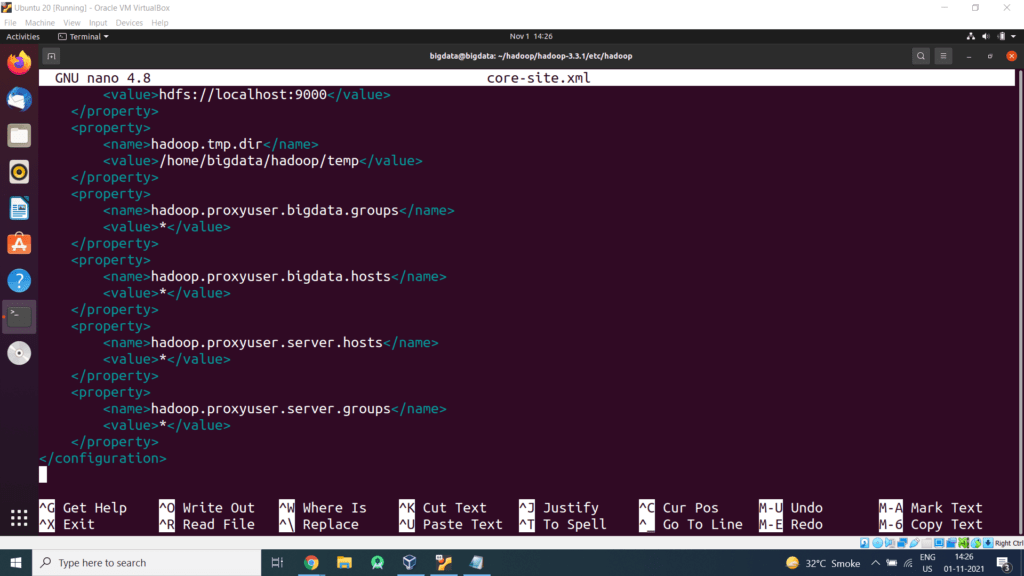
Press CTRL+O and enter to save changes. Then press CTRL+X to exit the editor.
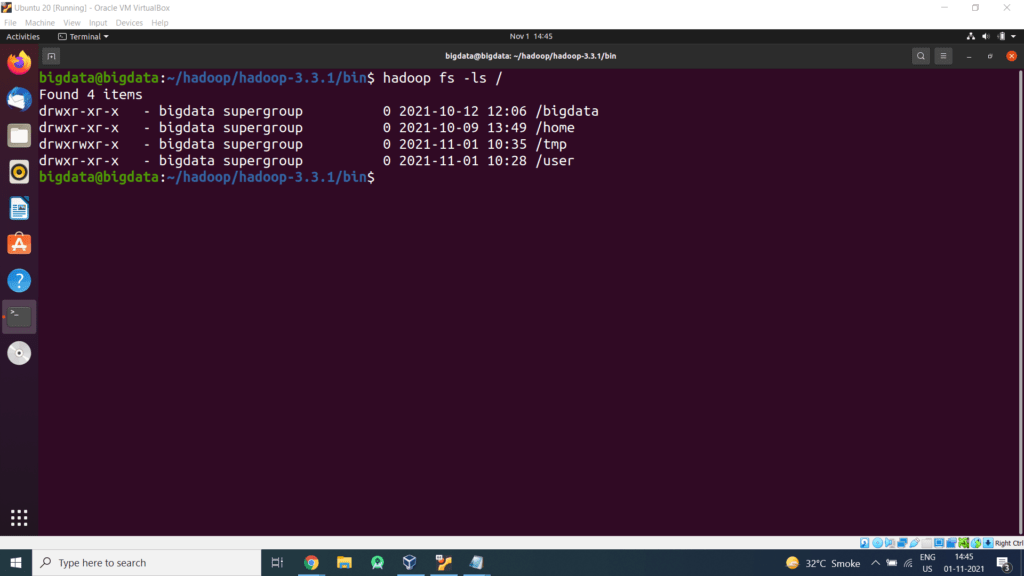
Step 7 – Make a few directories in HDFS, commands are as follows (Make Sure Hadoop is up and running)
$hadoop fs -mkdir /user
$hadoop fs -mkdir /user/hive
$hadoop fs -mkdir /user/hive/warehouse
Step 8 – Give the write permission to those folders
$hadoop fs -chmod g+w /user/hive/warehouse
Step 9 – Initialize Hive by default uses Derby database
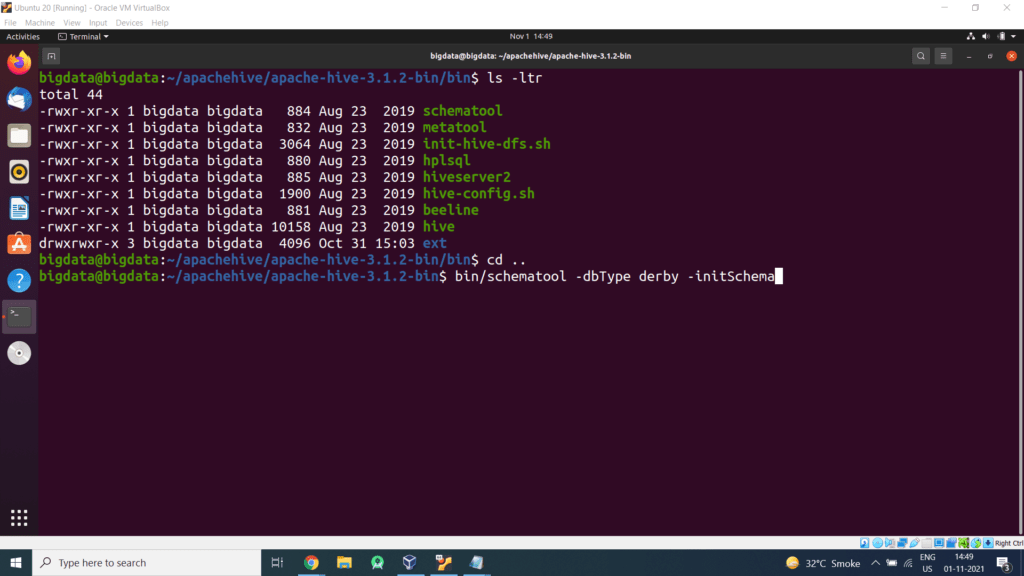

We will get the above message.
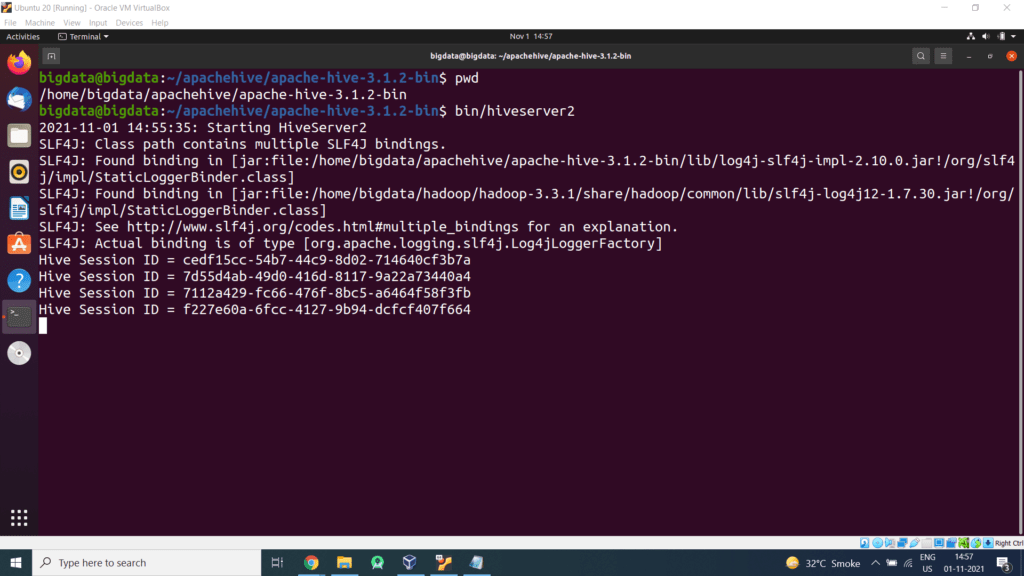
Step 10 – Start Apache Hive
First, we need to go to the hive directory
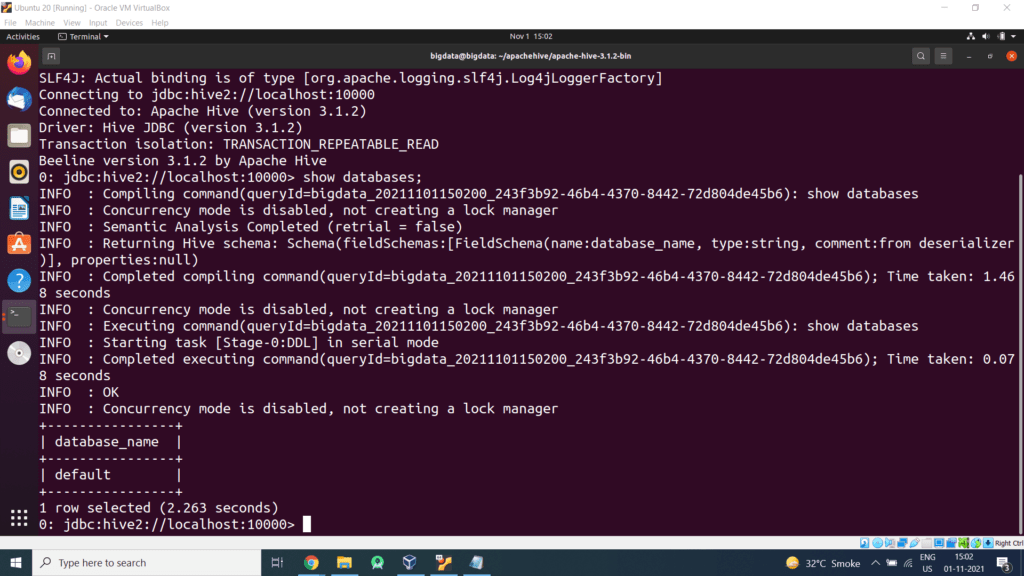
Step 11 – Open a new terminal, type the below command to launch the beeline command shell.
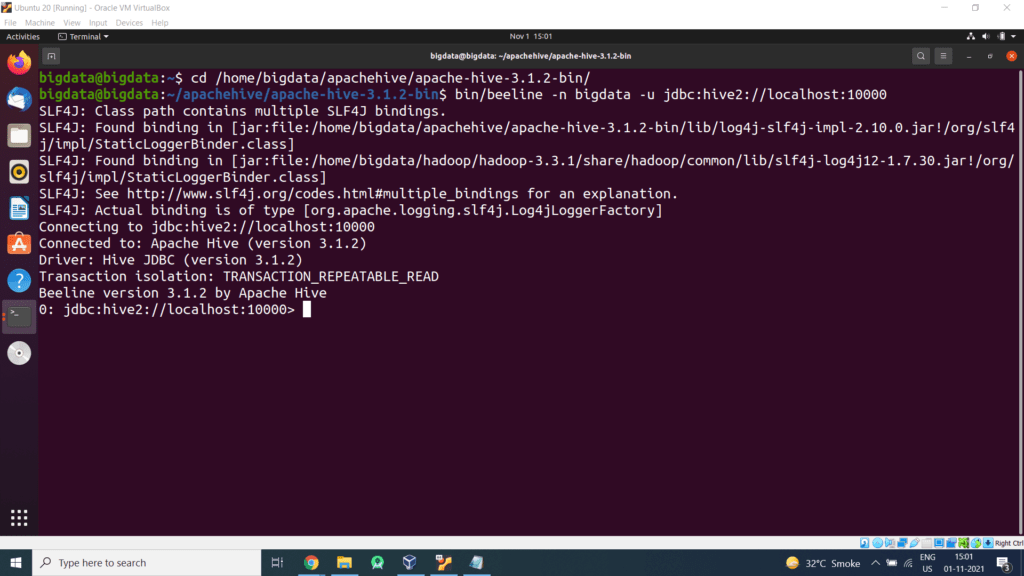
Check databases by displaying