With this tutorial, we will learn the complete process to install Hadoop 3.3.1 on Ubuntu 20.
Supported Java Versions
- Apache Hadoop 3.3 and upper supports Java 8 and Java 11 (runtime only)
- Please compile Hadoop with Java 8. Compiling Hadoop with Java 11 is not supported: HADOOP-16795 – Java 11 compile support OPEN
- Apache Hadoop from 3.0.x to 3.2.x now supports only Java 8
- Apache Hadoop from 2.7.x to 2.10.x support both Java 7 and 8
Required software for Linux include:
- Java must be installed. Recommended Java versions are described at HadoopJavaVersions.
- ssh must be installed and sshd must be running to use the Hadoop scripts that manage remote Hadoop daemons if the optional start and stop scripts are to be used.
Steps for Installing JAVA 8 on Ubuntu
Step 1 – Install Java 8 on Ubuntu
The OpenJDK 8 is available under default Apt repositories. You can simply install Java 8 on an Ubuntu system using the following commands.
$sudo apt install openjdk-8-jdk -y
Step 2 – Verify Java Installation
You have successfully installed Java 8 on your system. Let’s verify the installed and current active version using the following command.
openjdk version "1.8.0_252"
OpenJDK Runtime Environment (build 1.8.0_252-8u252-b09-1ubuntu1-b09)
OpenJDK 64-Bit Server VM (build 25.252-b09, mixed mode)
Step 3 – Setup JAVA_HOME and JRE_HOME Variable
As you have installed Java on your Linux system, You must have to set JAVA_HOME and JRE_HOME environment variables,
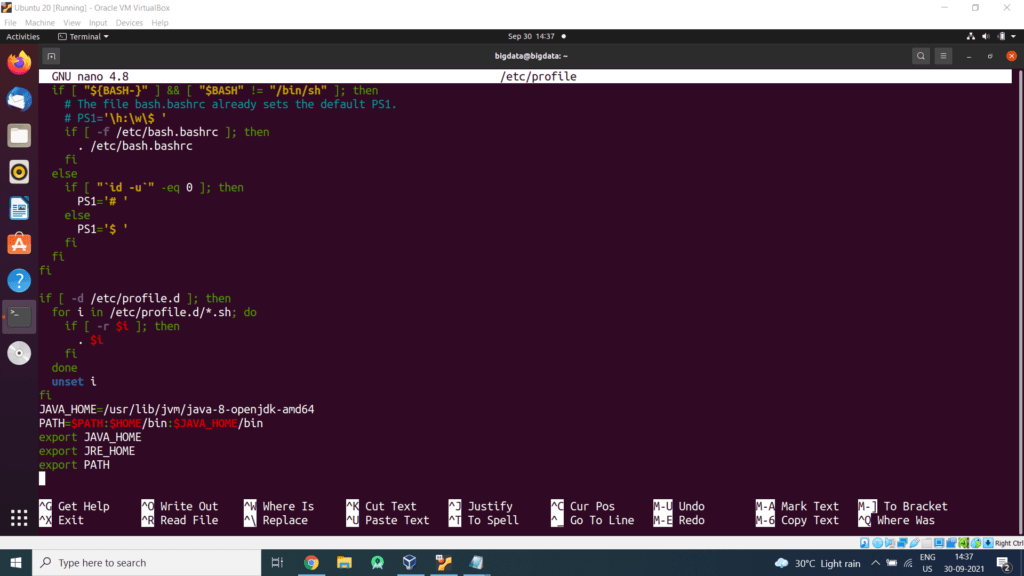
Edit the system Path file /etc/profile
sudo nano /etc/profile
Add the following lines at the end
PATH=$PATH:$HOME/bin:$JAVA_HOME/bin
export JAVA_HOME
export JRE_HOME
export PATH
Steps for Installing ssh on Ubuntu
Secure Shell (SSH) is a cryptographic network protocol for operating network services securely over an unsecured network. Typical applications include remote command-line, login, and remote command execution, but any network service can be secured with SSH.
Install ssh on your system using the below command:

Type the password for the sudo user and then press Enter.
Install pdsh on your system using the below command:

Type ‘Y’ and then press Enter to continue with the installation process.
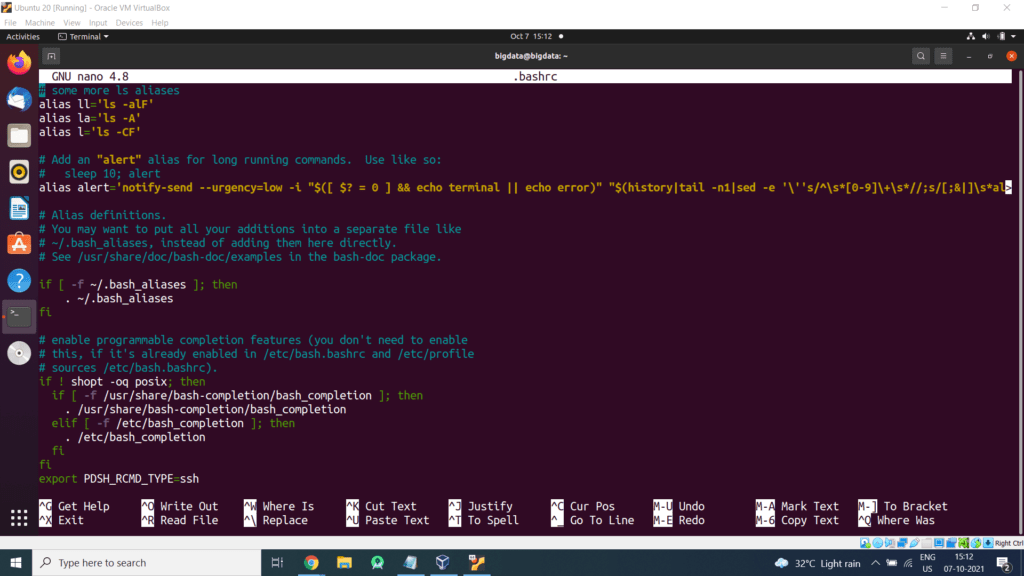
Open the .bashrc file in the nano editor using the following command:
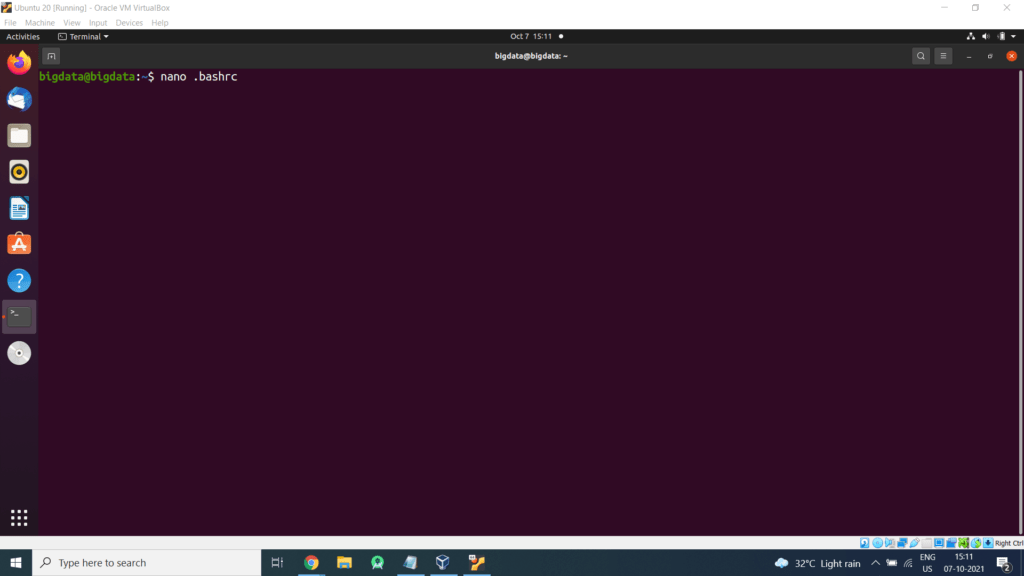
Now set the PDSH_RCMD_TYPE environment variable to ssh
Steps for Installing Hadoop on Ubuntu
- Create a directory for example
$mkdir /home/bigdata/hadoop
- Move to hadoop directory
$cd /home/bigdata/hadoop
Download Hadoop (Link will change with respect to country so please get the download link from hadoop website ie https://hadoop.apache.org/releases.html
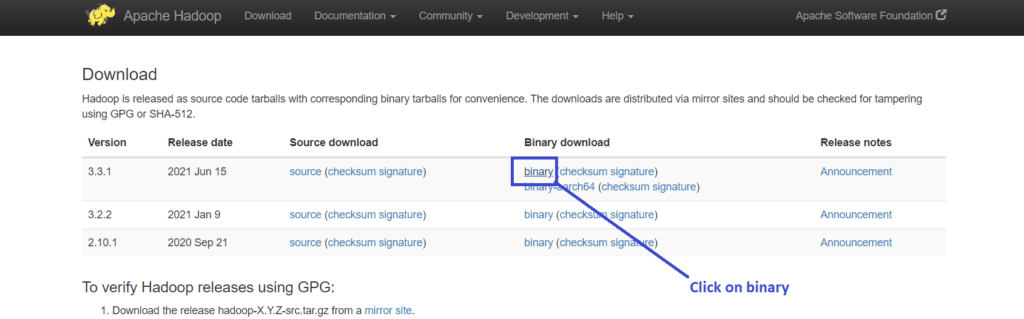
A new web page will get open and copy the link

In Ubuntu terminal type
Then type
$cd hadoop-3.3.1
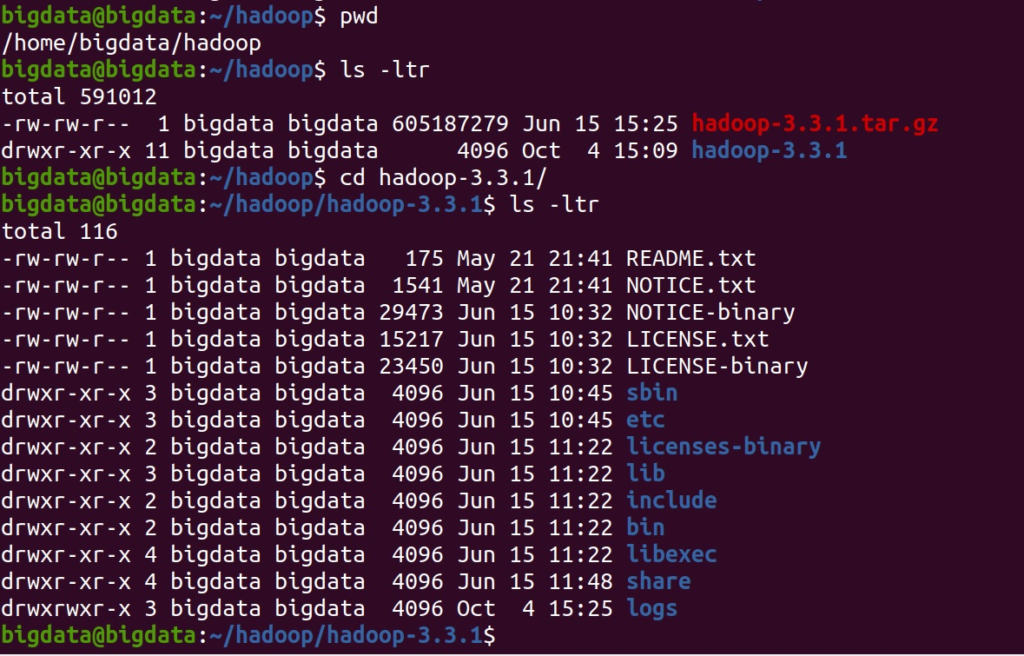
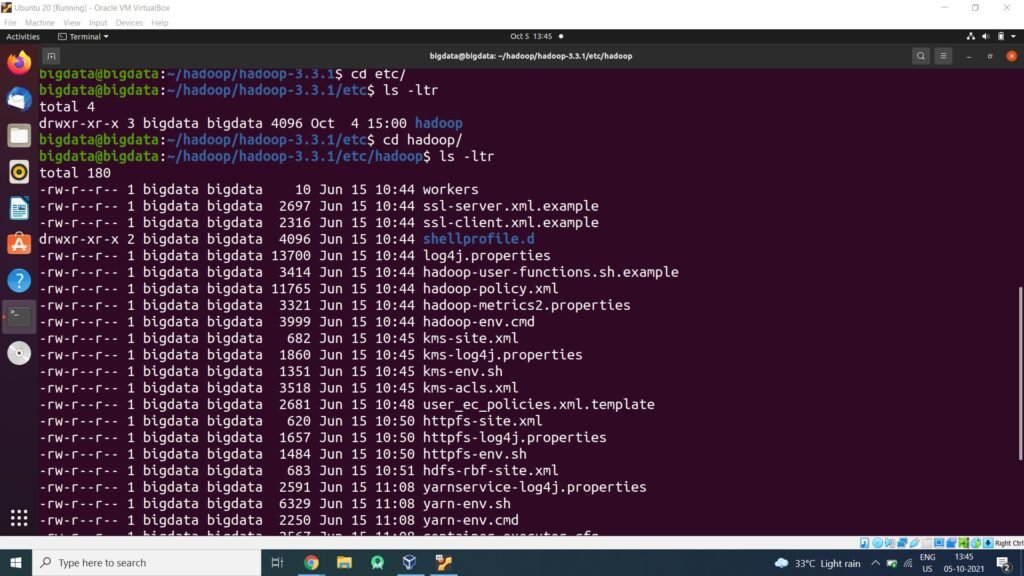
Edit the file etc/hadoop/hadoop-env.sh to define some parameters as follows:
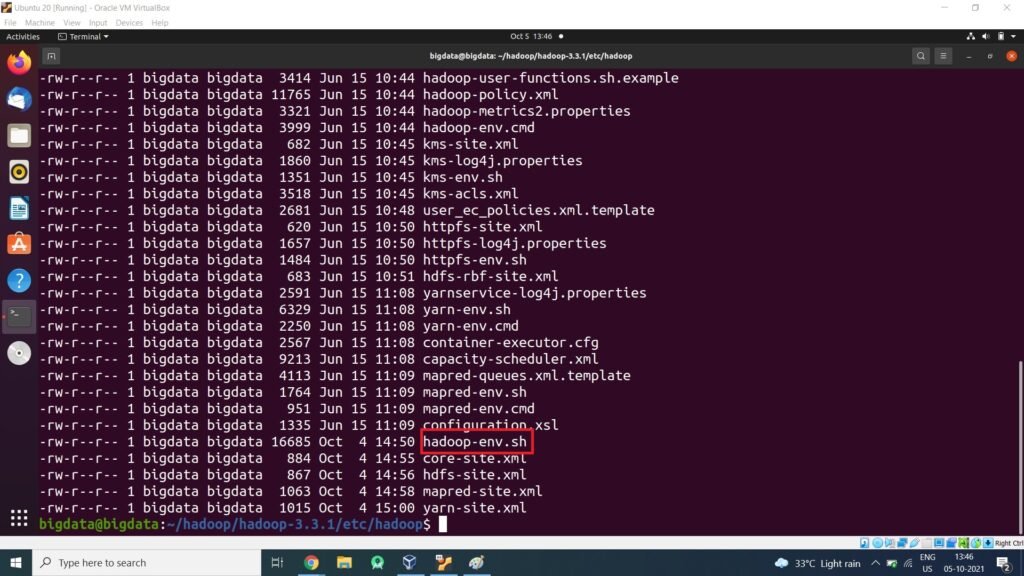
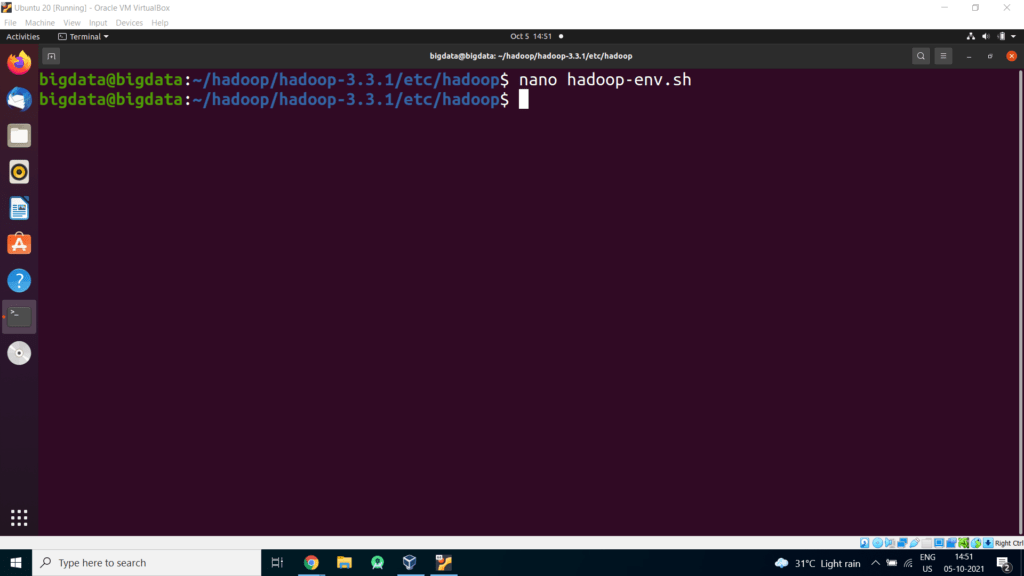
Set the Java Path in hadoop-env.sh as shown in the image.